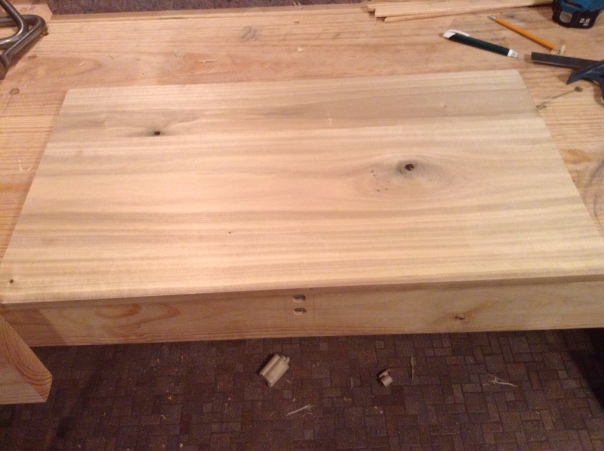
First thing i did when I got home from work is check the squareness of the big board for my lid. It moved a little but not much. I then proceeded to hog 1/8″ of thickness from the smaller lid board. During which time I discovered my #5-1/2 had a small nick in the blade, which is a whole other story. No biggie, I switched to my #8 and in short order had the board to the correct thickness.

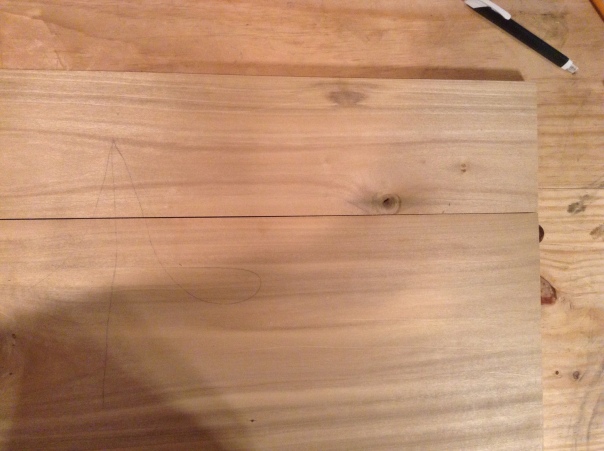
A little cleaning up on both sides with the smoothing plane and I was ready to tackle the joint between the two. I got both edges square to their respective reference faces but the edges still need a little straightening.

You can see the edge joint to the far right in the picture is very close but the one in the middle is not. If you hold it up to the light, the gap is really apparent.
So tomorrow evening the first thing I will do is resharpen my plane blade and then straighten the two edges and if it’s not too late I’ll glue the lid up. Next up will be to cut a rabbet around the lid on the outside face and round off the edge to simulate molding. Then there’s fitting the lid and hinges (they came in Mon, YEAH!).
Then comes the paint. A lot of folks have been using milk paint and a dark color. I don’t think I’m going to go that route. I want something bright and shiny. My favorite color is orange, hmmmmmm? Stay tuned, more to come!
-Charlie