Since I’ve been back from the class, I’ve done a lot of little stuff.
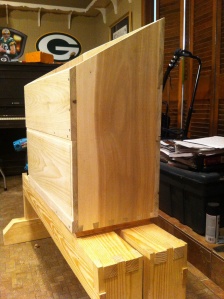
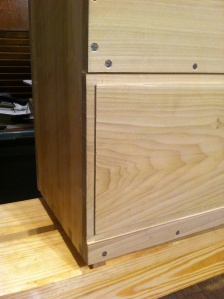
I cut the back top board to width and planned the angle to match the sides. The bottom edge of the bottom board was glued and screws used all around. I then planned all the edges on both sides and attempted a rabbet on the lower front board. 
I struggled with this part. I have a wooden 1.25″ skewed rabbet planeand I just couldn’t get it to work as smooth as I wanted. I ended up with some major chatter that ended up just having to live with. In the end I’ll probably be the only one to see it most of the time and I am going to paint it.
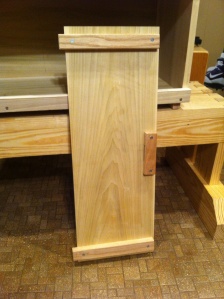
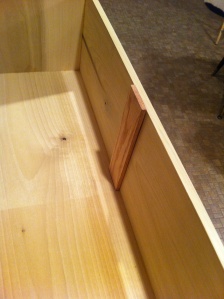
i then turned my attention to locking mechanism on the inside of the lower front. I used red oak for the battens and keeper because that’s what I had available and it’s a nice looking hardwood. These parts weren’t difficult to make or fit. They just required careful attention to detail. And I ended up with a nice piston fit of the whole assembly.
The lock pin, or stick, was similarly done in a fit and refine method. I was quite pleased when I was able to easily position the pin fully.  The last thing I was able to get done was feet for the chest. I used three sticks of red oak about 1″ square and the length of the bottom.
I’m pleased with my chest so far. Next up is a tool rack and dividers for the upper compartment. Stay tuned!
Your chest is turning out great! And Chris was right, those rabbets on the bottom make a world of difference. Thanks for the write up. – shawn from wortheffort
Thanks Shawn! I really enjoyed myself at Wortheffort. And the girls and I are excited about turning some bowls with your Dad after the holidays. Have a good one!